Connect with us:  760-789-7470 OR 619-312-0456
M.D.S. Diesel Service Inc.
  • Our Shop
  • Our Work
  • Mobile Service
  • More...
    • MDS Jobs
    • About Us
    • Find Us

Alternator Replacement

1/17/2014

5 Comments

 
This is the first in a series on routine maintenance. These posts will cover basic maintenance that applies to all trucks.

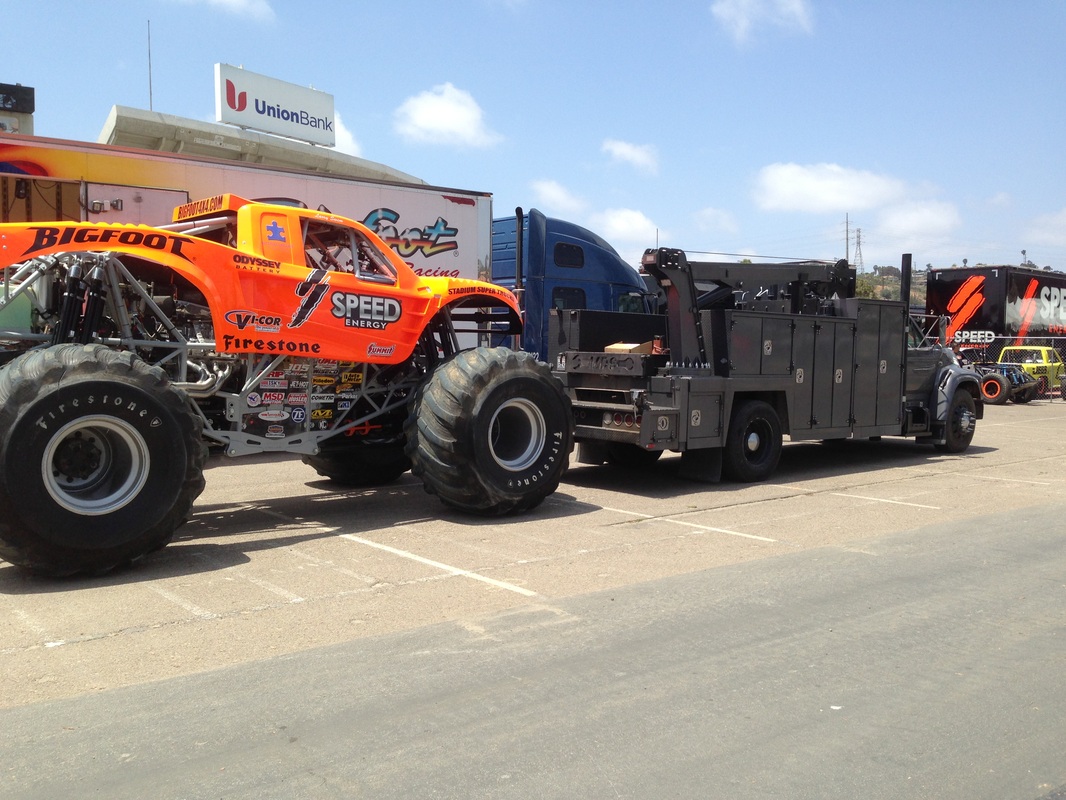
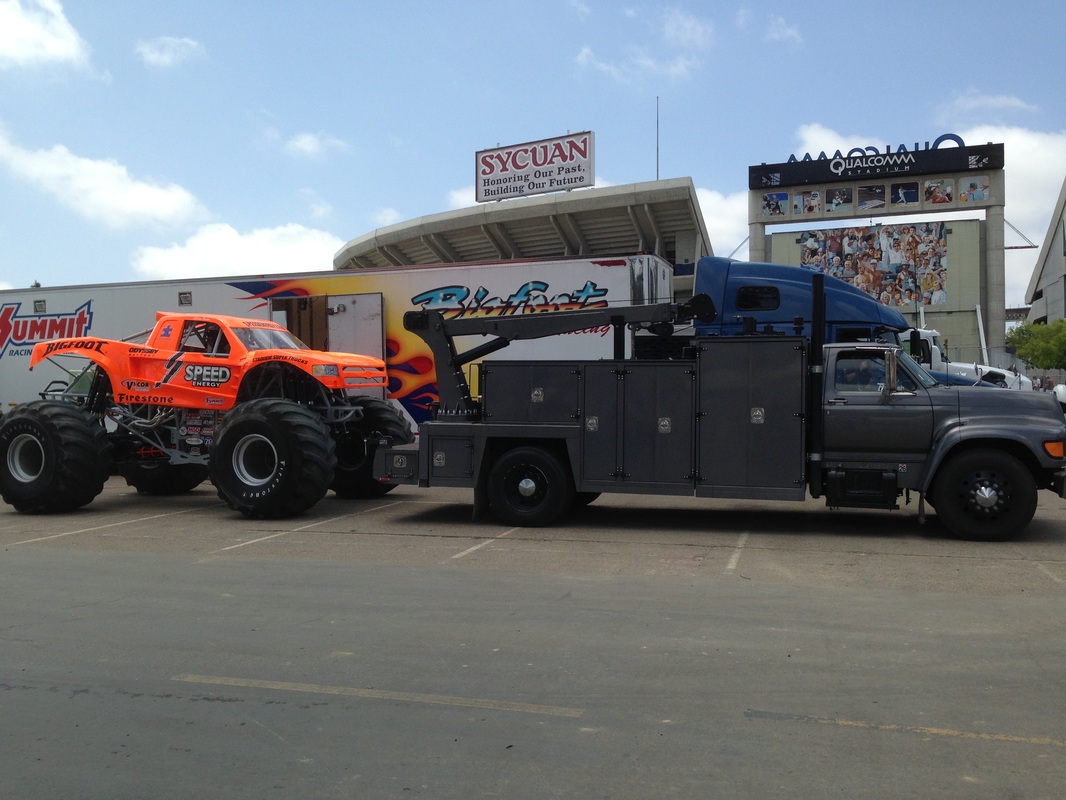
Trucks of all varieties need regular maintenance

Picture
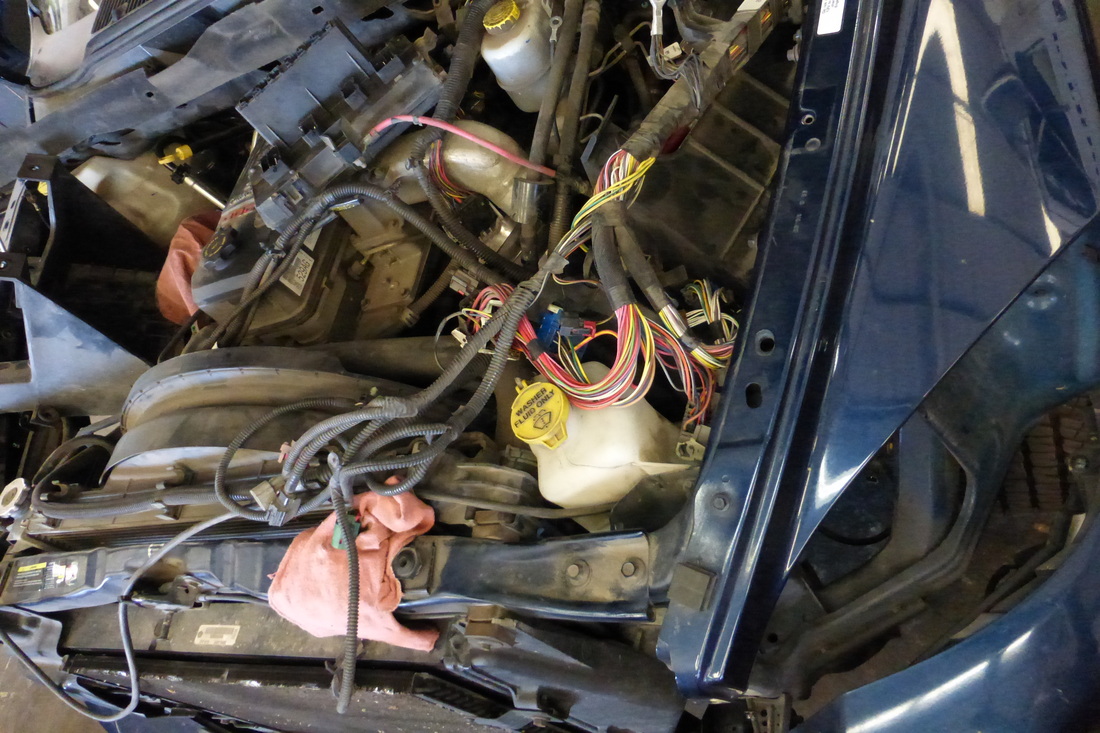
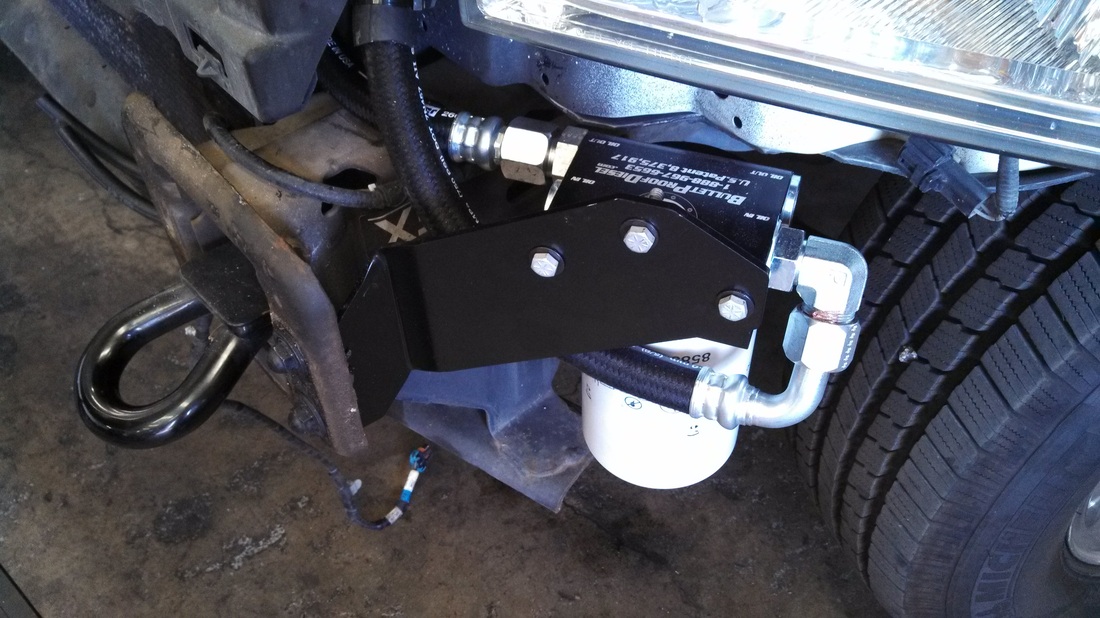
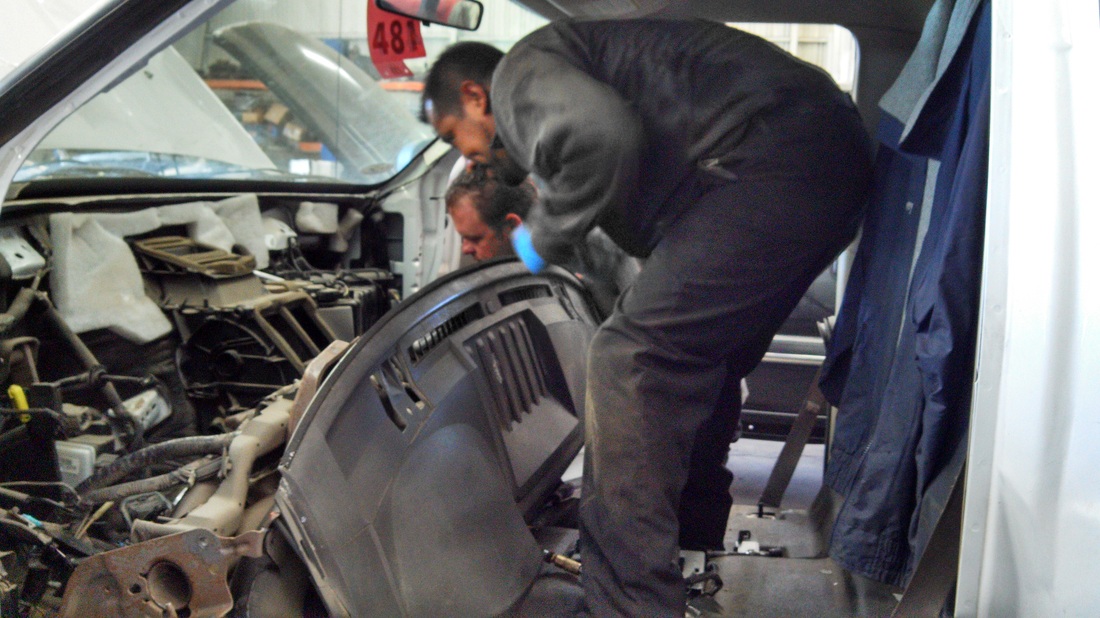
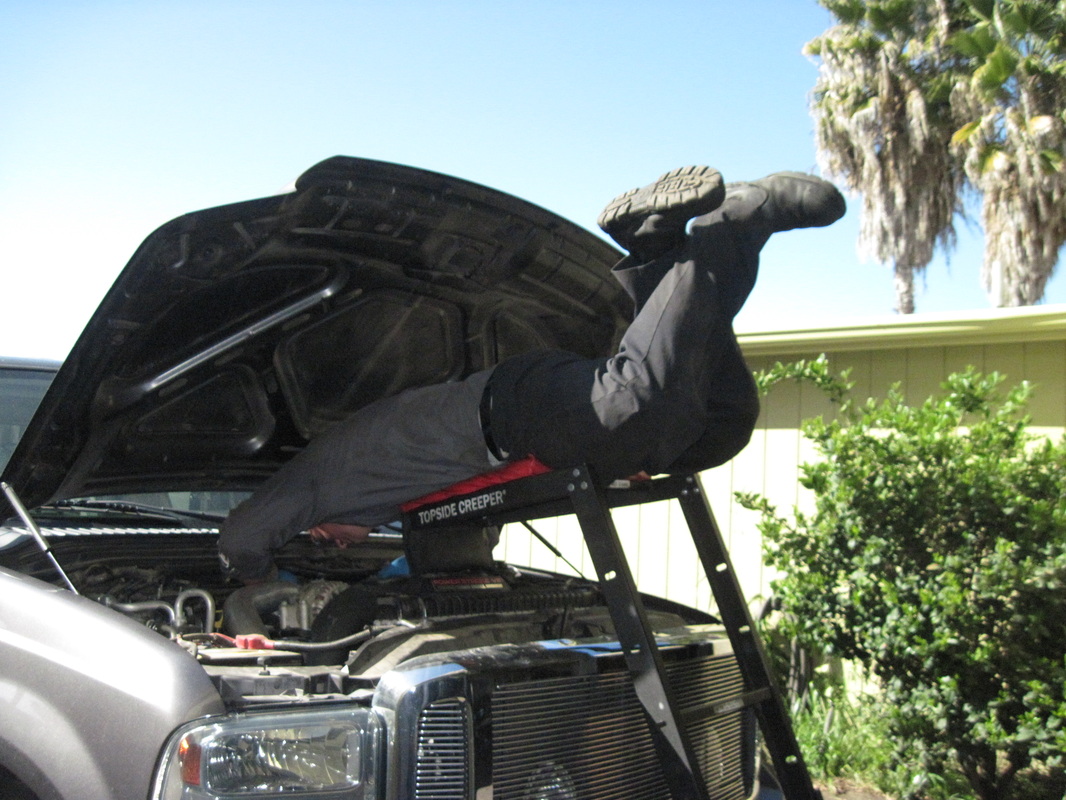
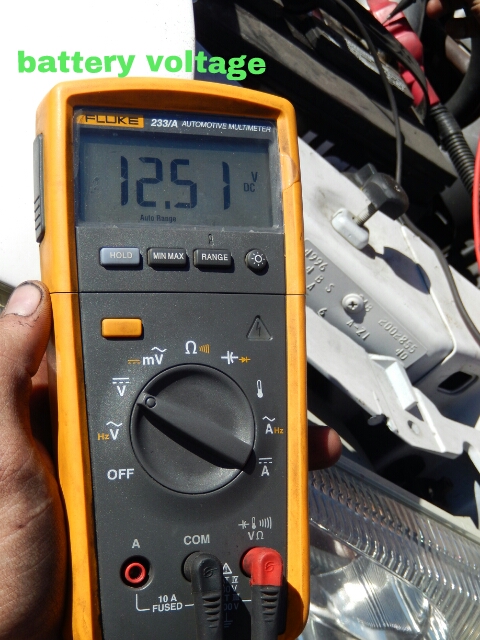
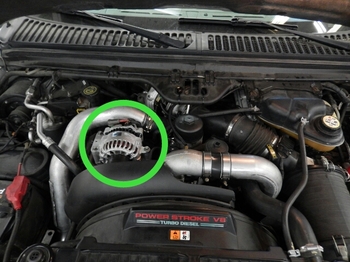
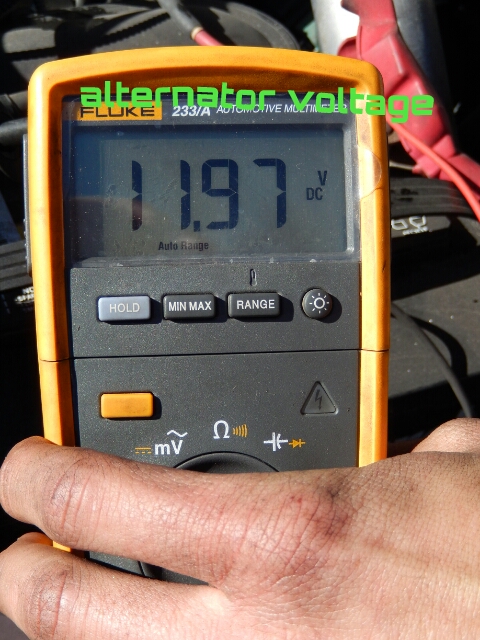
The Ford Super Duty is no exception. Our customer with a 2003 6.0 super duty came in with the request to change his alternator. When we double-checked the volts on the alternator with our multimeter, the results were obvious, this truck was in need of an alternator.

The alternator should be putting out more volts than the battery has, in order to keep the battery charged. If the alternator is generating the same or less than the battery charge, then it is time to change the alternator. Other signs that it is time to change the alternator are:
  • A red warning light on dash
  • Intermittent red warning light on dash
  • Dim lights- most often you will notice the headlights are dim, sometimes the interior lights will also dim
  • Slow cranking
  • Dead batteries
Before replacing the alternator the battery charge must be 12.5 volts. The alternator acts as a voltage maintainer, it is not a battery charger. If your battery is dead to begin with you will over work the brand new alternator, or it may not work at all!

Picture


Picture
Picture
Picture
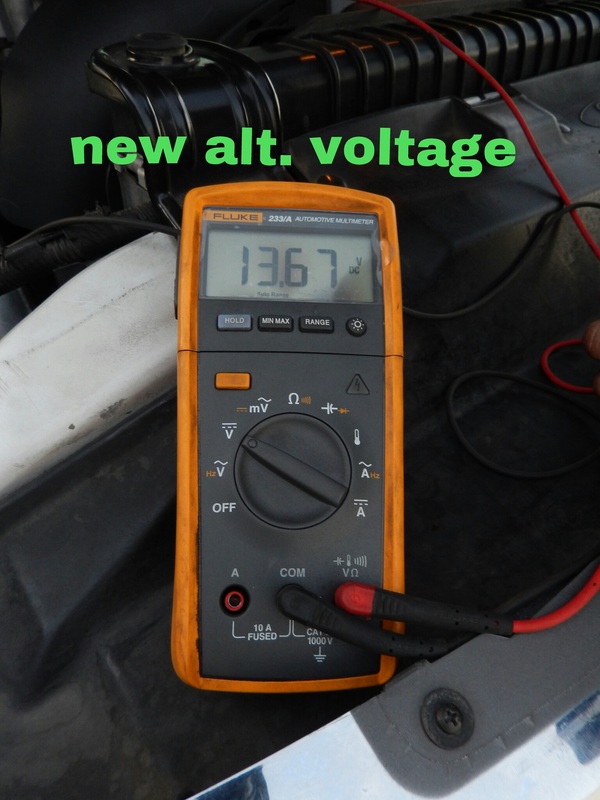
The voltage regulator (a component of the alternator) needs to be controlling the voltage output between 13.5 and 14.2 volts with the engine on and no load. This range will ensure your battery is charged correctly.

Another cause to replace your alternator would be if the voltage regulator is overcharging your batteries, causing them to spew acid. In this case the readings on the alternator would register over 14.5 volts.

Nearly all vehicles run on a 12 Volt system and the above standards apply, including all size trucks, semis, cars, motorcycles and boats.

Updated 2/21/14
5 Comments

Wires on Fire!

10/22/2013

2 Comments

 
If your wiring is hooked up backwards it can cause serious damage to your vehicle, and possibly harm you! Not too long ago we had a customer call us after her 2006 Dodge 2500 truck starting smoking when she hooked up her trailer. After a little investigation we found the wiring to the trailer battery was hooked up backwards. One easy mistake can cause several thousands of dollars in damage!
Picture
The entire wiring harness removed from the truck- front end on left side.
When the battery was replaced the wires to the trailer plug were re-installed backwards. This ground out the plug and shorted the wires. The wires got extremely hot and melted down part of the fender.
Picture
Picture
The entire main wire harness had to be removed and replaced- that's no little task! The steering wheel, fender (obviously) and gas tank even had to be removed to gain access to areas the harness tied into the truck.
2 Comments

Service truck bed repair

9/26/2013

0 Comments


To view images in full screen resolution visit our Flickr page 

For the story as text only click on read more below


Read More
0 Comments

Does your truck need to be Bullet Proofed?

8/22/2013

2 Comments

 
Replacing the ERG cooler and Oil cooler on Ford 6.0's is a common sight around this shop. In fact, we have several trucks in various stages of BulletProof upgrades right now!

This is a stock or "factory" 6.0 oil cooler and Oil Filter housing after it has been removed from the engine.
Picture
This is a Bullet Proof Oil Block with the factory oil filter housing. The oil block reroutes you engine's oil to the exterior BulletProof oil cooler.
Picture
And this is the BulletProof oil block with remote oil filter housing. The new oil filter housing sits just behind the bumper on the left side (driver's side) of the truck.
Picture
This is the Bullet proof oil cooler and the remote oil filter housing.
Picture
Picture
To see BulletProof's YouTube video page click HERE. They have many informational videos explaining the various systems on a diesel pick up truck. This videos can be helpful in determining which upgrade your truck needs.


Give us a call today to get pricing for an install on your truck!
2 Comments

Like us?

7/26/2013

0 Comments

 
Picture
Like us on Facebook to see more about us!

https://www.facebook.com/MdsDieselServiceInc

Here's today's post:

Picture
0 Comments

Hood won't close = Possible Broken Frame Rail

7/2/2013

0 Comments

 
A broken frame rail on any vehicle is dangerous. A broken frame rail on a truck that hauls 80,000+ lbs. is extremely dangerous. Normally a visual inspection is the only way to determine if your frame is broken. Recently we had a 2006 Peterbilt 379 transfer come in with a broken frame rail. A really broken frame rail.

The driver noticed that his usually some-what rough riding rig was driving uncharacteristically smooth. At the same time the steering was all over the place and it was harder to control. Then he noticed his hood wouldn't close all the way on the passenger side. After a walk-around inspection he noticed a major crack in his frame.
 
Picture
Hood not fully closed on passenger side.
Picture
The truck bed would not fully seat on the frame rail because of the crack. The driver bound the frame with chains and this exaggerated the gap from the bed to the rail.
Picture
And the reason for it all- a broken frame rail!
Picture
Picture
Once the driver saw the seriousness of the crack, they bound the frame with chains and blocks. This got the truck to our shop with out further damaging the truck. If the frame were to crack all the way, the truck would not be moveable.
Picture
Picture
Picture
View from underneath of frame rail.
The mechanic marked the placement of all components, took measurements of the inside of the frame channel then began to disassemble the frame rails. Once the rails were disassembled the crack was welded up.
Picture
Picture
The custom frame sleeves being brought in to the shop.
Picture
Picture
Picture
The new bolt holes being drilled into the frame rail.
Video of Mag drill making bolt holes in the new frame rail sleeve.
Picture
Job Complete!
Driving any commercial vehicle with a broken frame is illegal.
Picture
Click on the photo link and select commercial vehicles, Form CHP108 to see the form that follows.
Picture
Line 36 notes Frame and Crossmembers- must be OK to be operational.
0 Comments

The boys at work!

6/21/2013

0 Comments

 
0 Comments

No defrosters = Ticket

6/14/2013

0 Comments


If you drive a vehicle that carries a CA number, this applies to you!

A Driver for one of our rental company customers was complaining of a broken A/C and no defroster. When the driver would try to turn on the defrosters it made a clicking noise.
13 CCR 1232 Motor Carriers shall ensure all
vehicles and all required accessories are
regular and systematically inspected,
maintained, and lubricated to ensure safe and
proper operating condition.
The defroster is an essential part of a vehicles accessories, and therefore  must be operational to pass a CHP inspection.
http://bit.ly/11hp7wm
The above link will take you to a .pdf from the California Highway Patrol titled "Understanding A Terminal Inspection." where the code excerpt was taken from.
Picture
Our mechanic started the job by removing the seats in the truck cab to allow better access to the dashboard. He then pulled the dash apart to gain access to the heater control box. This allowed him access to the blend door flap. That is where the issue was.

Have you seen the handy little dash tray that some trucks come with?
Picture


It sits right in center on the top of the dash board. It's so convenient for pens, change and other miscellaneous little items. Little items that can fall right through the defroster vents and cost the owner of the vehicle quite a bit of money in repairs.

Picture


This is where those "little items" end up. In the heater control box blend door area. The "little items" jammed the blend door and prevented it from opening up the defrosters. Eventually the gear drive broke from multiple attempts to open. The clicking noise the driver heard was the broken gear trying to catch.

Picture
All the items from the dashboard fell through the vents and into here...
Picture
... and broke this gear (circled)
In order to replace the broken gear, the entire heater box had to be purchased. There is a lot of labor involved in removing and replacing the entire heater box. The AC evaporator is inside the HVAC box and requires evacuation, removal and recharge of fluids upon re-installation. The temperature sensor, blower motor, actuators and resistor also need to be removed and reinstalled on the new HVAC box. In order to save our customers some money in labor, we removed the blend door and gear (interior parts to the left of the line below), and installed only those parts into the old HVAC unit. Now the customer has a spare HVAC box for the future!
Picture
Moral of the story:
Don't leave items on your dashboard! Even if there is a special tray just for it!
0 Comments

E-350 Custom Exhaust

6/7/2013

2 Comments

 
Picture
A lifted 2008 Ford E-350 4WD 6.0 van left our shop today with a new custom exhaust. The customer requested we install a 4" stainless steel Magnaflow exhaust. A Magnaflow muffler kit for an F-250 was modified to fit the E-350. This is a 24" muffler, the length was chosen to mellow the exhaust  noise.

We installed V-band clamps on either side of the test pipe and modified the down pipe.
Picture
Magnaflow Muffler
Picture
From the muffler to the rear of the vehicle
Picture
Looking towards the engine
Picture
The routing of the exhaust tip
Picture
A shot of the modified down pipe
Picture
A close up of the clamp welded in to hold the heat shield in place
Picture
Custom exhaust hangers
Picture
Close up on welds on pipe going into the muffler
Picture
V-clamps on either side of the test pipe

Another job completed and a happy customer!

Picture
Picture
Picture
2 Comments

Engine miss turned into a clutch conversion on a Dodge Ram 3500 6.7 Cummins

6/3/2013

3 Comments


Back-Story: Previously a customer (let's say "Jim") had gone to the local dealer complaining of an engine miss. The dealer only cited one cylinder as having a miss. They changed ALL the injectors, and it still had a miss. The dealer guessed the engine fan was bad.  "Jim" brought his truck into M.D.S. and Chris tore apart the whole front end, looking for a vibration in the belts and pulleys. When that did not yield results, he went for the clutch. And there was the issue. The dual mass flywheel had gone out-of-round and was creating an engine miss feeling.

A different customer "Bob" came into the shop complaining of an engine miss. We preformed a cylinder contribution test- we found #1 cylinder contribution malfunction. We preformed cylinder cut-out test, still missing on #1. Bob was ready to have his injector replaced and Chris informed the customer of the clutch defect. Upon inspection and test runs, we found the clutch vibration. We advised Bob that a dual mass flywheel delete would prevent this in the future.

The job would be the same for 2 wheel drive or 4 wheel drive, it would just have additional labor for removal and re-installation of the transfer case.


PictureLeft- Old clutch plate, Right- New clutch plate


Two weeks ago we completed a clutch conversion on a 2007 Dodge Ram 3500 2WD with a 6.7 Cummins engine. The truck comes stock with a dual mass flywheel and it was upgraded to a conventional flywheel. Dodge installs the dual mass flywheel to absorb more shock on take-off.

Transmission and old clutch removal

Picture
Rear of transmission ready to be removed
Picture
Dual mass pressure plate
Picture
Dual mass flywheel with burn marks from clutch slipping and overheating.
Picture
Tool used to turn engine to remove flywheel bolts.
Picture
Center is out of round.
Picture
Pressure plate with heat marks and cracks
Picture
Organic clutch disk worn out- no wear grooves present.

Upgrade parts

Picture
Upgraded clutch master and slave cylinder, necessary for conversion.
Picture
New and old clutch components
Picture
Old and new clutch plate- the new clutch plate has less springs and is stronger!

New Clutch Install

Picture
New flywheel installed with pilot bearing greased
Picture
Aligning clutch disk before pressure plate install.
Picture
All bolted up!
3 Comments
<<Previous
Forward>>

    The Shop Blog

    Here are some articles written by MDS about diesels, mechanic's life and what captures our attention.


    Picture

    Click to see Articles list

    Archives

    January 2020
    December 2019
    September 2019
    May 2016
    February 2015
    August 2014
    June 2014
    March 2014
    February 2014
    January 2014
    October 2013
    September 2013
    August 2013
    July 2013
    June 2013
    May 2013
    April 2013

    Picture
    Click on the link to take a survey for in-shop work.
    Picture
    Click on the link to take a survey for mobile work.

    RSS Feed

453 Main St. Ramona Ca 92065
info@mdsdiesel.com
service@mdsdiesel.com